Article
Getting Started with Notion
Notion is a productivity tool that helps remote, hybrid, and in-person companies revolutionize their workflow. Notion can help organize team projects, track progress and promote productivity. Here are some tips to help navigate Notion and better your working experience.
HC

Chrissy DiBrigida
·
How-to: Download to Desktop
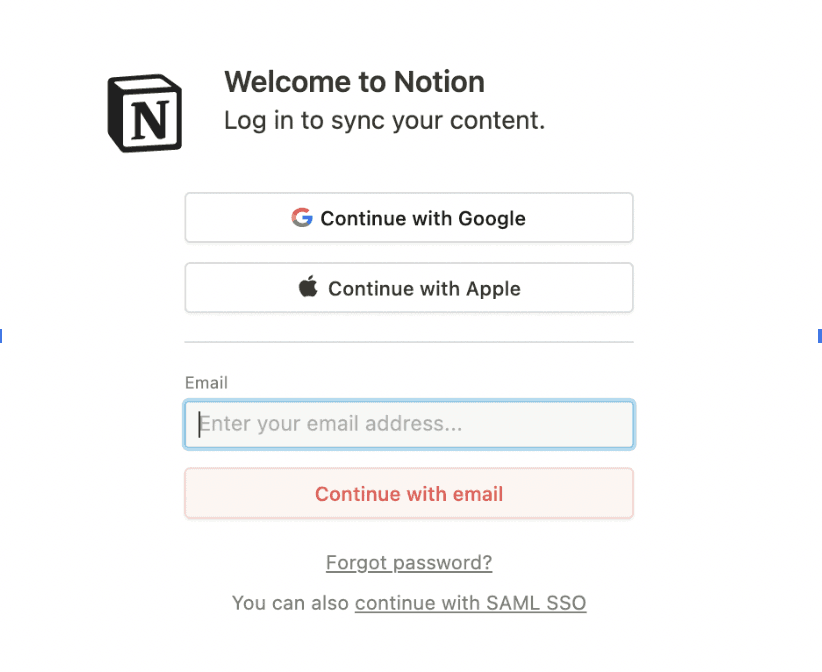
Notion has download capabilities for Windows and Mac. Once Notion is downloaded, enter your company email and password or create a new account.
How-to: Navigate the Basics
1. Creating a page
Each page on Notion acts as a blank canvas that can mold to whatever your need may be. Create pages for meeting notes, blog posts, team tasks, checklists, plus many more possibilities and features.
To create a new page, click + New Page in the bottom left-hand corner of your desktop. Notion allows users to pick their page type to fit their content. Next, just pick a fitting page title, and your work is complete!
Once a new page is created, it will live on the left-hand toolbar with the rest of the pages that have been created.
2. Editing and Writing Basics
Notion is a dynamic platform that allows for headers, text, bullets, quotes, images, and videos to help build an idea or convey a message.
Once on a new page, start typing to fill the space with text. To format the text, highlight what you have written. Formatting options include:
- Text
- Heading 1
- Heading 2
- Heading 3
- Page
- To-do List
- Bulleted List
- Number List
- Toggle List
- Code
- Quote
- Callout
You can also select Comment to make suggestions on text; if you want to attract a specific collaborator, use the @ symbol and their name within the comment. You can also link through text and change the text color to customize your page.
To affect the format of an entire page, click the three-dot icon in the top right corner of your screen. Here you can change page width, favorite a page, or delete the page.
How-to: Master the Sidebar
1. Navigating with the Sidebar
Notion’s sidebar can be found on the left-hand side of your screen. The sidebar holds essential functions like Quick Find, Settings, Members, plus all the pages you are a part of.
Click on your current workspace name in the sidebar and switch profiles to the workspace you desire to change workspaces. This allows you to toggle between separate ventures quickly.
All Updates is another feature that belongs in Notion’s sidebar. Check out this tab for new information on pages you follow, essential reminders, or when you have been mentioned within the workspace by fellow collaborators.
Sick of the sidebar? You can permanently close the sidebar by clicking the grey arrow in the tab’s top right-hand corner (or click “Command \” on Mac or “Control \” on Windows, to give yourself more viewing room while working.
Notion will categorize pages by Shared, Private, and Workspace when in a shared account. Pages located in the Workspace tab are visible to everyone, While invited members can only access Shared, and Private is available to your eyes only.
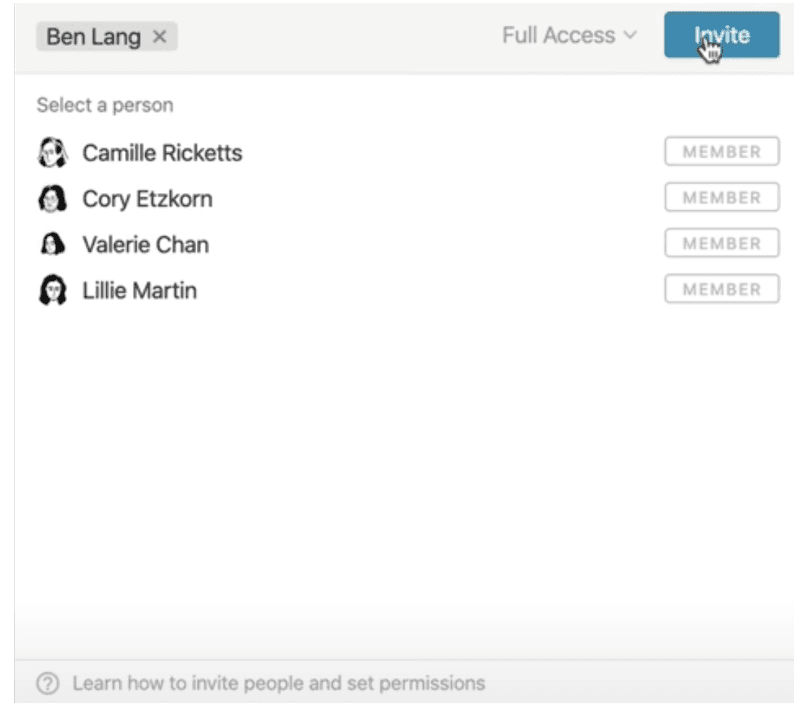
Pages located in “private” can always be added to “shared” by adding invitees in the shared settings, which looks like this.
Import Button
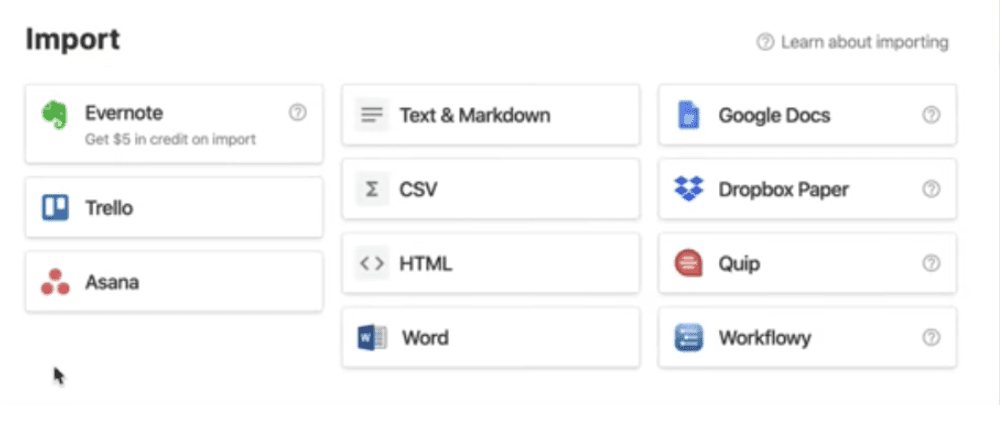
Head over to the Import button on the sidebar to import information from other applications like Evernote, Trello, Asana, Google Docs, etc. The import feature allows for continuity of information between Notion and other platforms.
How-to: Access Shortcuts
Block Options When on a page, type the “/” (the backslash symbol) to unlock the full menu of block options. You can choose from the scrolling menu or type the format after the backslash to transform the block option.
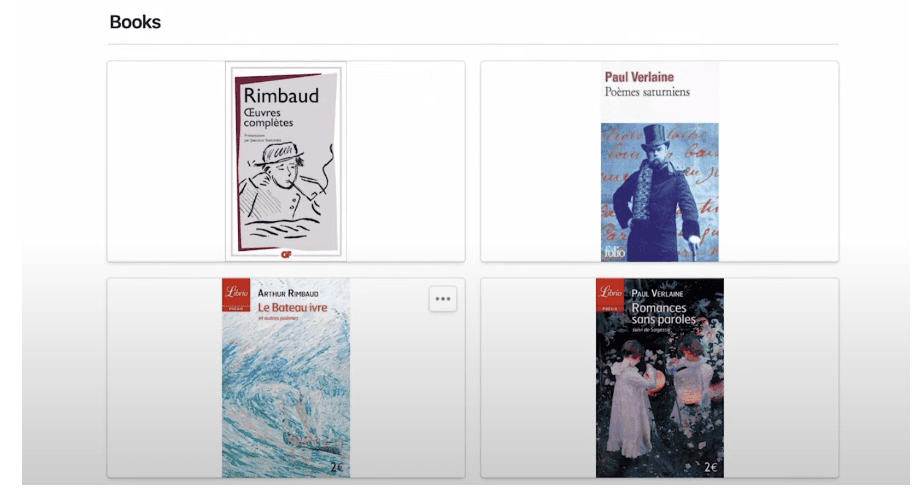
Galleries and Tables When it is time to create a database, a Notion user can again type the backslash key (/) and use the scrolling menu to insert the table or gallery or any other database they want to include.
Here is an example of what an inline gallery database added to a page in Notion might look like.
Drag and Drop
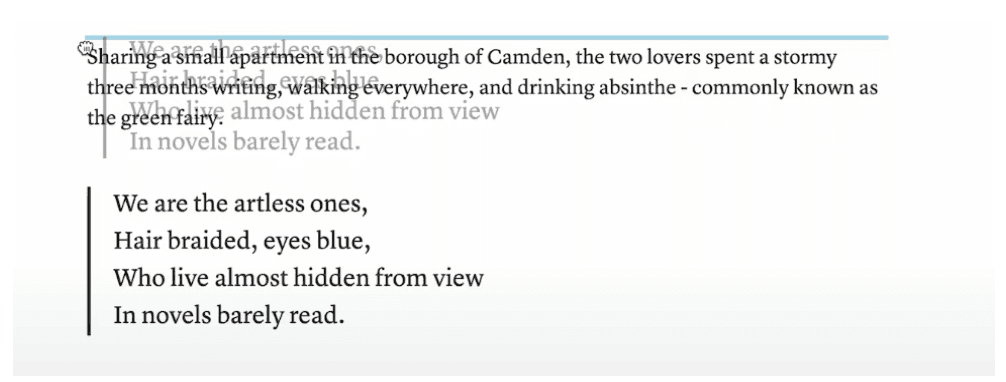
Click the six dot icon next to a content block to rearrange items on a page. Next, drag content around the page until it lands in your preferred location. Finally, create columns by dragging two blocks next to each other on the page. Notion also provides users with blue guiding lines to help with spacing when dragging content blocks.
Quick Find
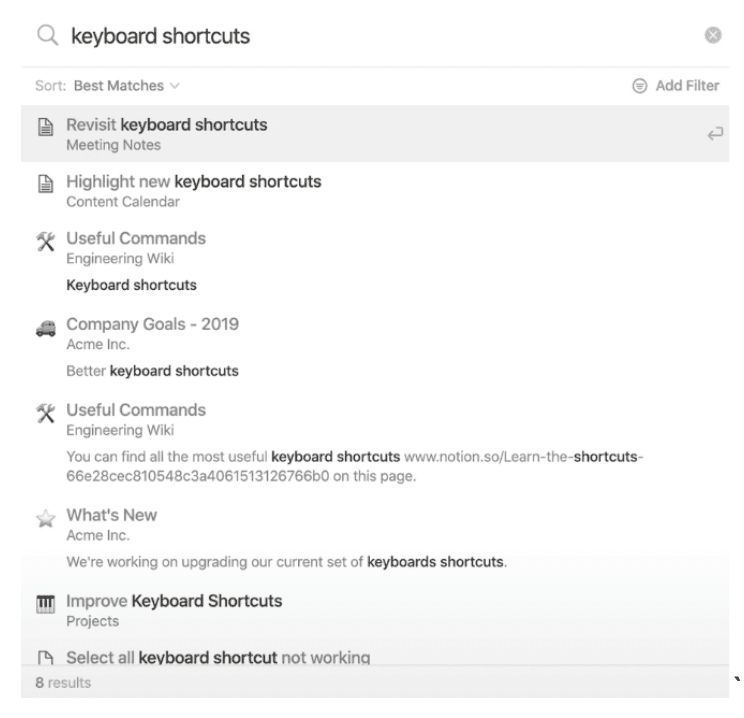
Sometimes it can be hard to sift through pages full of content to find the specific information you are looking for; with Quick Find, this task is more accessible. To access Quick Find, head to the top left corner of your toolbar or use “Command P” for Mac or “Control P” for Windows.
Once the search bar appears, type in the keywords associated with the content you're looking for, and Notion will generate a list of search results with their page locations.
When dealing with a large amount of data, try using the filter icon under the search bar to refine content by Titles, Best Matches, Created/Last Edited Date, or page creator to ensure you find what you need.
Favoriting Pages
If you find yourself searching for the same page repeatedly, utilize the Favorited button in the top right corner of a page. A favorited page will then appear under the Favorites tab in the toolbar for easier access in the future.
